How to Cable Manage Your Gaming PC Like a Pro
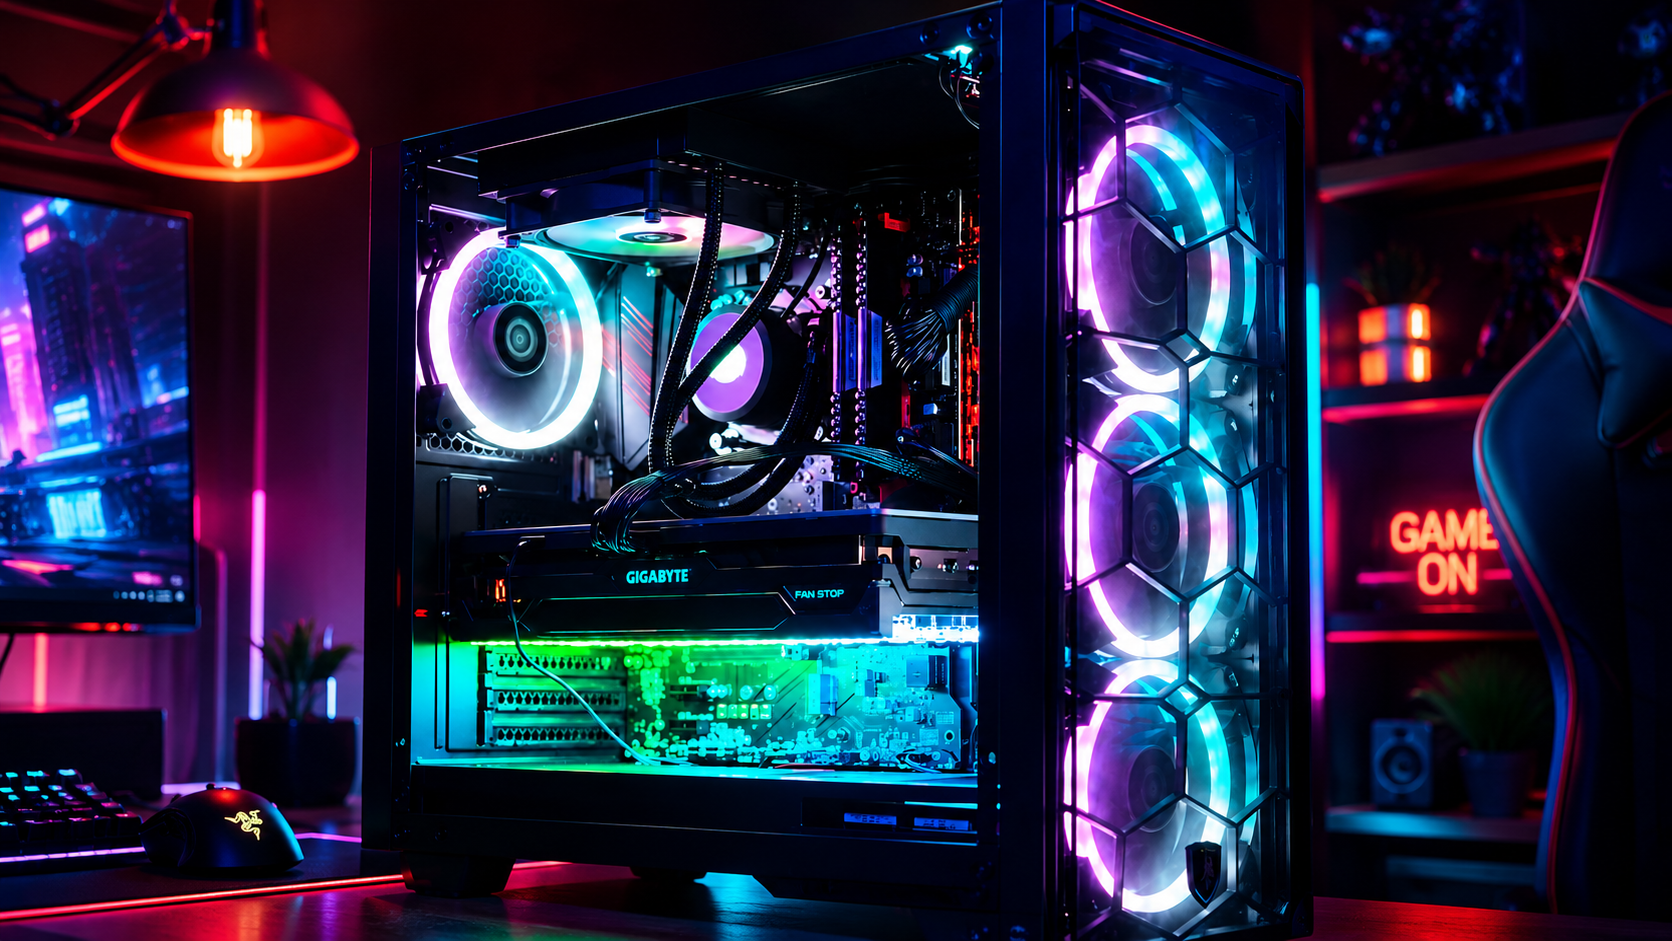
There is nothing quite like the rush of powering on a brand-new gaming rig for the first time. The fans spin up to life, vibrant RGB glows through tempered glass, and your favorite titles load in the blink of an eye. But if you peer behind that gorgeous glass side panel: or look down at the tangle of wires pooling beneath your desk: does the magic fade a little? We completely understand. A messy web of cables isn't just an eyesore; it chokes vital airflow, traps frustrating dust bunnies, and turns routine component upgrades into an absolute headache.
At
Home Net Computer Repair, we believe that building or owning a premier gaming rig should be a seamless, stress-free experience from start to finish. Whether you're assembling a dream machine from scratch or looking to revitalize your current battle station, mastering cable management is the ultimate secret to achieving peak performance, enduring reliability, and a truly professional aesthetic. Let’s dive into our comprehensive guide on how to cable manage your gaming PC like an industry expert.
Craft Your Experience: Why Cable Management Matters
Before you grab your zip ties and dive into the chassis, it helps to know why we obsess over clean routing. Beyond making your setup look like a work of art, thoughtful cable management delivers concrete operational benefits:
- Unrivaled Airflow: Stray wires crossing your intake fans or radiator fins act like speed bumps for cool air. Tucking them safely out of the way keeps your temperatures down during intense gaming sessions.
- Effortless Upgrades: When it’s time to install a beefier GPU or add extra storage, not having to untangle a 20-pound knot of wires makes the swap infinitely faster.
- Long-Lasting Durability: Cables that are pinched, bent at sharp angles, or resting against hot heatsinks degrade faster. Clean, stress-free routing protects your investment for years to come.
If the thought of untangling your entire setup gives you anxiety, take a deep breath. We are here to guide you through the process step-by-step, ensuring a hassle-free journey to a pristine rig.
Explore Our Internal Case Strategies
When you open up your chassis, the goal is simple: keep the main chamber crystal clear for components and airflow, tucking 90% of your wiring securely behind the motherboard tray and power supply (PSU) shroud.
1. Plan and Route Front-Panel Connections First
Before plugging in your massive power cables, handle the small stuff. Route your case's front-panel connectors (audio, power switch, USB headers) through the closest cutouts along the bottom or edge of the motherboard. Doing this early prevents them from getting trapped underneath bulkier power cables later.
2. Tame the Power Delivery Giants
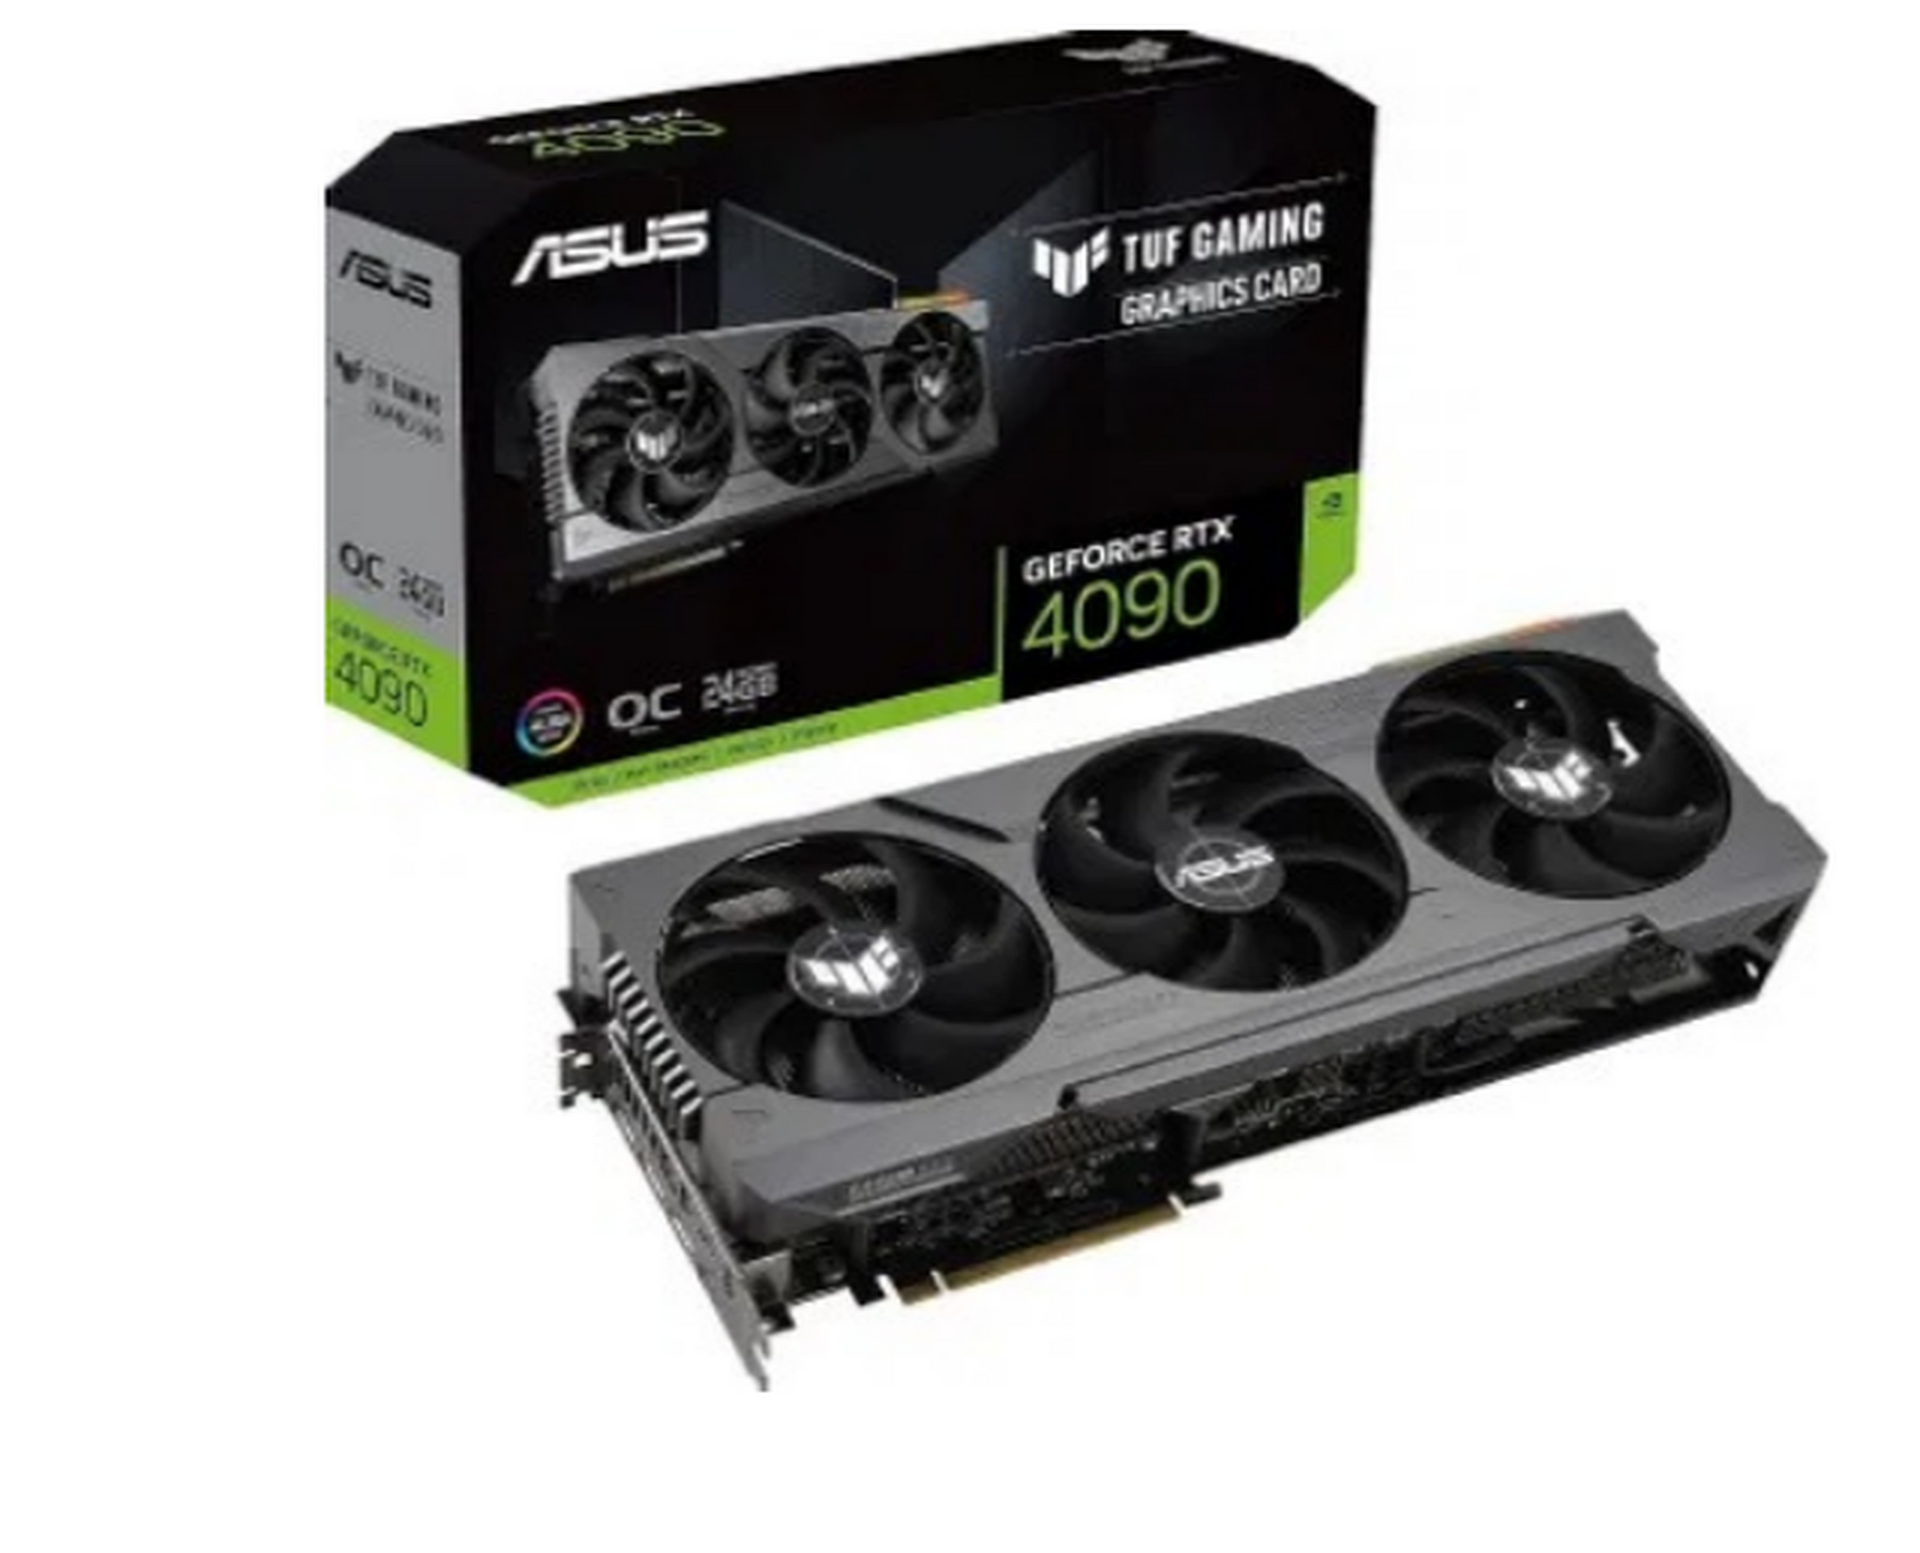
Your 24-pin main power, 8-pin CPU EPS, and PCIe graphics card power cables are thick, stiff, and notoriously difficult to bend.
- Use the rubber grommets closest to each connector.
- Bring the cable out from the rear compartment at the absolute last possible inch.
- For high-draw components like a top-tier GPU, ensure the cables are neatly aligned without putting harsh tension on the port.
If your power supply is non-modular, don't panic. Stash unused leads flat against the floor of the PSU shroud or tuck them neatly into the bottom drive cage. If you are building with us or upgrading your hardware, we always recommend modular power supplies for cleaner paths and effortless customization.
3. Harness Your Fan and RGB Hubs
Modern gaming rigs are packed with multiple case fans and dazzling lighting effects, which can quickly result in a spaghetti monster of tiny wires. Group your fan and RGB cables by zone, run them along existing channel grooves on the back of the chassis, and secure them with reusable Velcro straps.
Utilize Our Expert Techniques for the Rear Chamber
The back of your motherboard tray is where the magic (and the necessary chaos) happens. Don't worry if the back isn't an art gallery: the key is flat, organized bundles that allow your side panel to close effortlessly without bulging.
- Group by Destination: Keep power cables in one main channel, data and fan cables in another. Separating power from low-voltage signal lines reduces potential electrical interference.
- Embrace Velcro over Zip Ties: While zip ties are fantastic for permanent hidden bundles, Velcro straps give you the flexibility to adjust your layout when adding a new SSD or upgrading your cooling system down the road.
- Cut Tails Flush: If you do use zip ties in hidden rear corners, always use flush cutters to snip the tails completely smooth. A sharp plastic tail can easily scratch your hands or snag delicate wiring during future maintenance.
Perfect Your Desk and Peripheral Layout
A spotless interior doesn't mean much if your desk looks like a bowl of noodles. External cable management is just as crucial for creating a clean, calming gaming environment.
1. Unplug and Map: Disconnect everything from your monitors, keyboard, mouse, and audio interface. Sort cables by type so you can see exactly what length you're working with.
2. Install an Under-Desk Tray: Mount a sturdy cable management tray toward the back edge of your desk. Place your surge protector inside this tray so all your power adapters and excess cord length are completely hidden off the floor.
3. Bundle and Secure: Use adhesive cable clips along the underside of your desk and monitor arms to guide lines neatly down to your peripherals. Keeping cables off the floor also makes vacuuming and cleaning your gaming space infinitely easier!
Trust Our Team for Bespoke Custom Builds and Upgrades
We know that achieving absolute perfection with your cables takes patience, steady hands, and the right tools. If you’re planning a brand-new custom PC build or want to give your current rig a professional overhaul, you don’t have to tackle it alone.
At Home Net Computer Repair, we pride ourselves on honest, transparent communication, top-quality parts, and meticulous craftsmanship. Best of all, we know your time is valuable, which is why we offer our signature convenient pick-up and return service: we come right to your door to collect your system and bring it back looking and running like an absolute dream.
Have questions about your hardware, need help optimizing your cooling, or want to talk custom builds? Reach out to our friendly team today, and let us make your tech experience completely stressfree!