Why Won't My Computer Boot? 5 Troubleshooting Steps to Try First
There are few moments in your daily routine quite as heart-stopping as pressing the power button on your computer, only to be met with complete silence, an endless black screen, or a frustrating loop of error messages. Whether you rely on your machine for crunching spreadsheets, crafting digital masterpieces, or unwinding with your favorite game after a long week, a computer that refuses to boot can throw your entire day off balance.
You might find yourself asking: Is this the end of my machine, or is it a simple fix?
Take a deep breath. At
Home Net Computer Repair, we know how stressful technology glitches can feel. As your trusted, family-owned neighbor in the Pacific Northwest, we are committed to making tech less stressful and more accessible for everyone. Before you panic or assume you need an entirely new rig, let’s walk through five comprehensive troubleshooting steps to help you diagnose and conquer the startup blues.
1. Demystify the Symptoms: What Is Your PC Telling You?
Before opening a case or downloading recovery tools, let’s identify what is actually happening when you press that power button. Pinpointing the exact symptom will save you precious time and guide your next steps with laser-like precision:
- Absolute Silence (No Lights, No Fans): This points toward a power delivery issue, a faulty power supply unit (PSU), or a loose main connection.
- Fans Spin, Lights Turn On, But No Display: Often indicates a loose monitor cable, graphics card (GPU) issue, or memory (RAM) communication failure.
- Manufacturer Logo Appears, Then Freezes or Loops: Usually signals a boot order hiccup, a failing storage drive (SSD/HDD), or corrupted Windows system files.
Understanding these early clues helps us approach your system with the care and clarity you deserve.
2. Check Your Power and Peripheral Connections
It sounds almost too simple, but stellar troubleshooting always starts with the basics. Loose cables and rogue peripherals are responsible for a surprising number of "dead" computer emergencies.
- Bypass Power Strips: Plug your desktop’s power cord directly into a known-good wall outlet to rule out a tripped power strip or surge protector.
- Inspect the Power Supply Switch: Look at the back of your desktop tower. Is the physical rocker switch firmly flipped to the "I" (on) position?
- For Laptop Users: Unplug your power adapter, remove any removable battery if your model allows it, and press and hold the power button for 30 seconds to drain residual static charge. Reconnect and try again.
- Unplug Non-Essential Peripherals: Disconnect external hard drives, USB thumb drives, printers, webcams, and secondary monitors. Leave only your keyboard, mouse, and primary display connected. Sometimes, a faulty USB device can lock up your motherboard during its initial boot sequence.
By handling these initial checks calmly and methodically, you can often bypass a stressful hardware scare in under five minutes.
3. Inspect Internal Components and RAM (For Desktops)
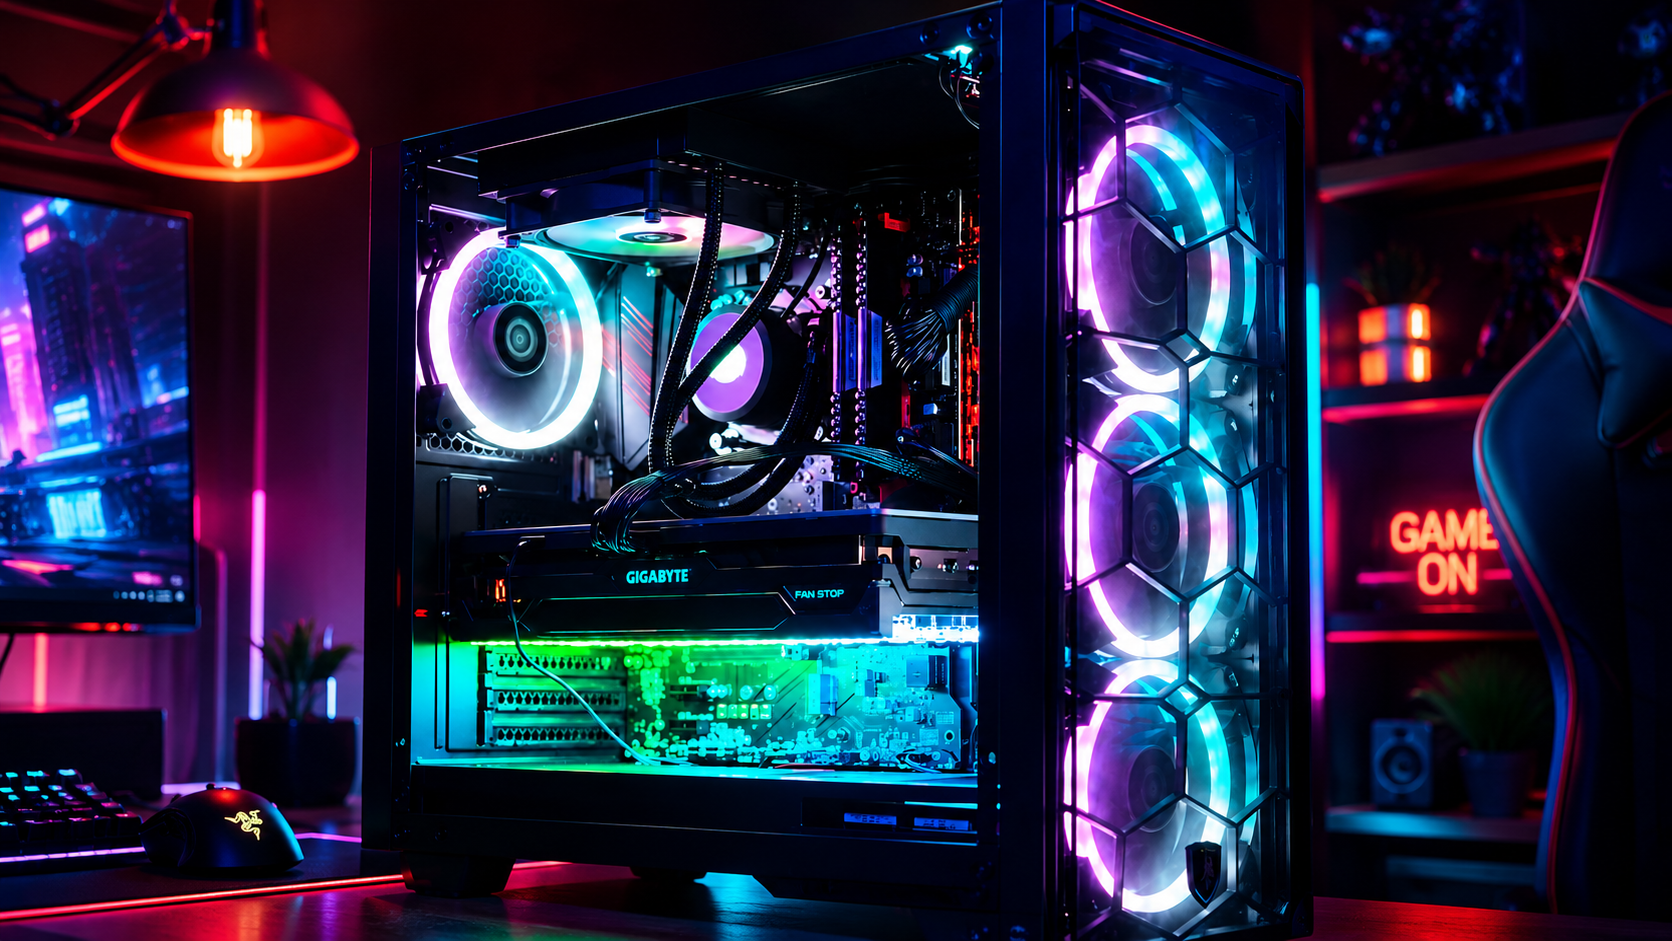
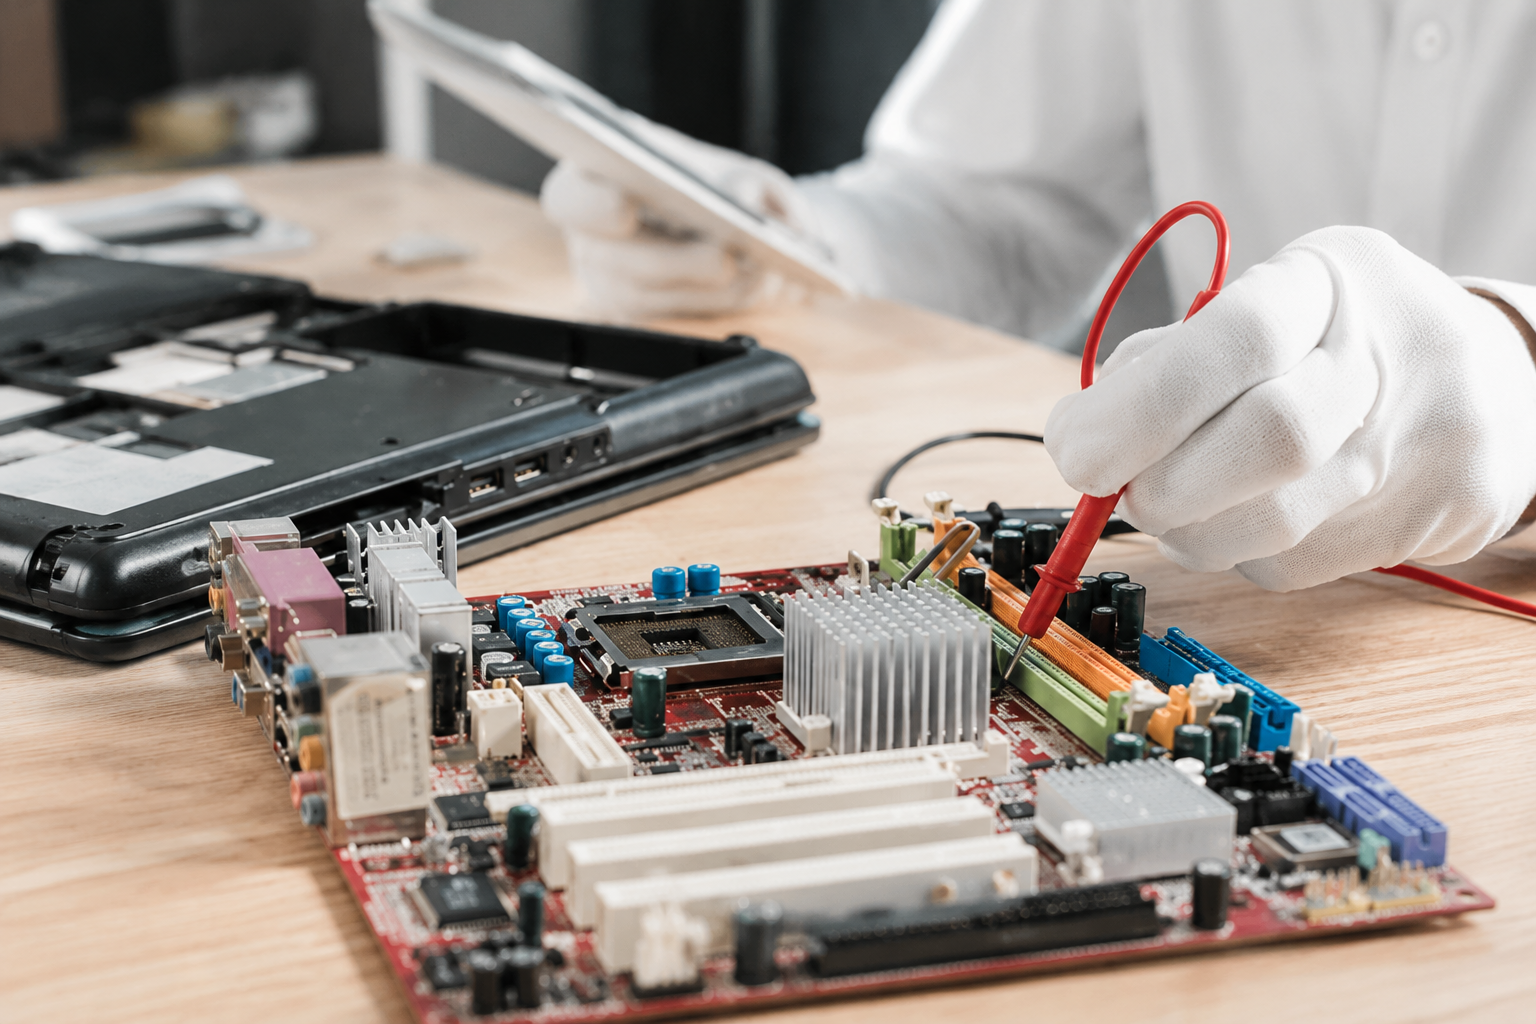
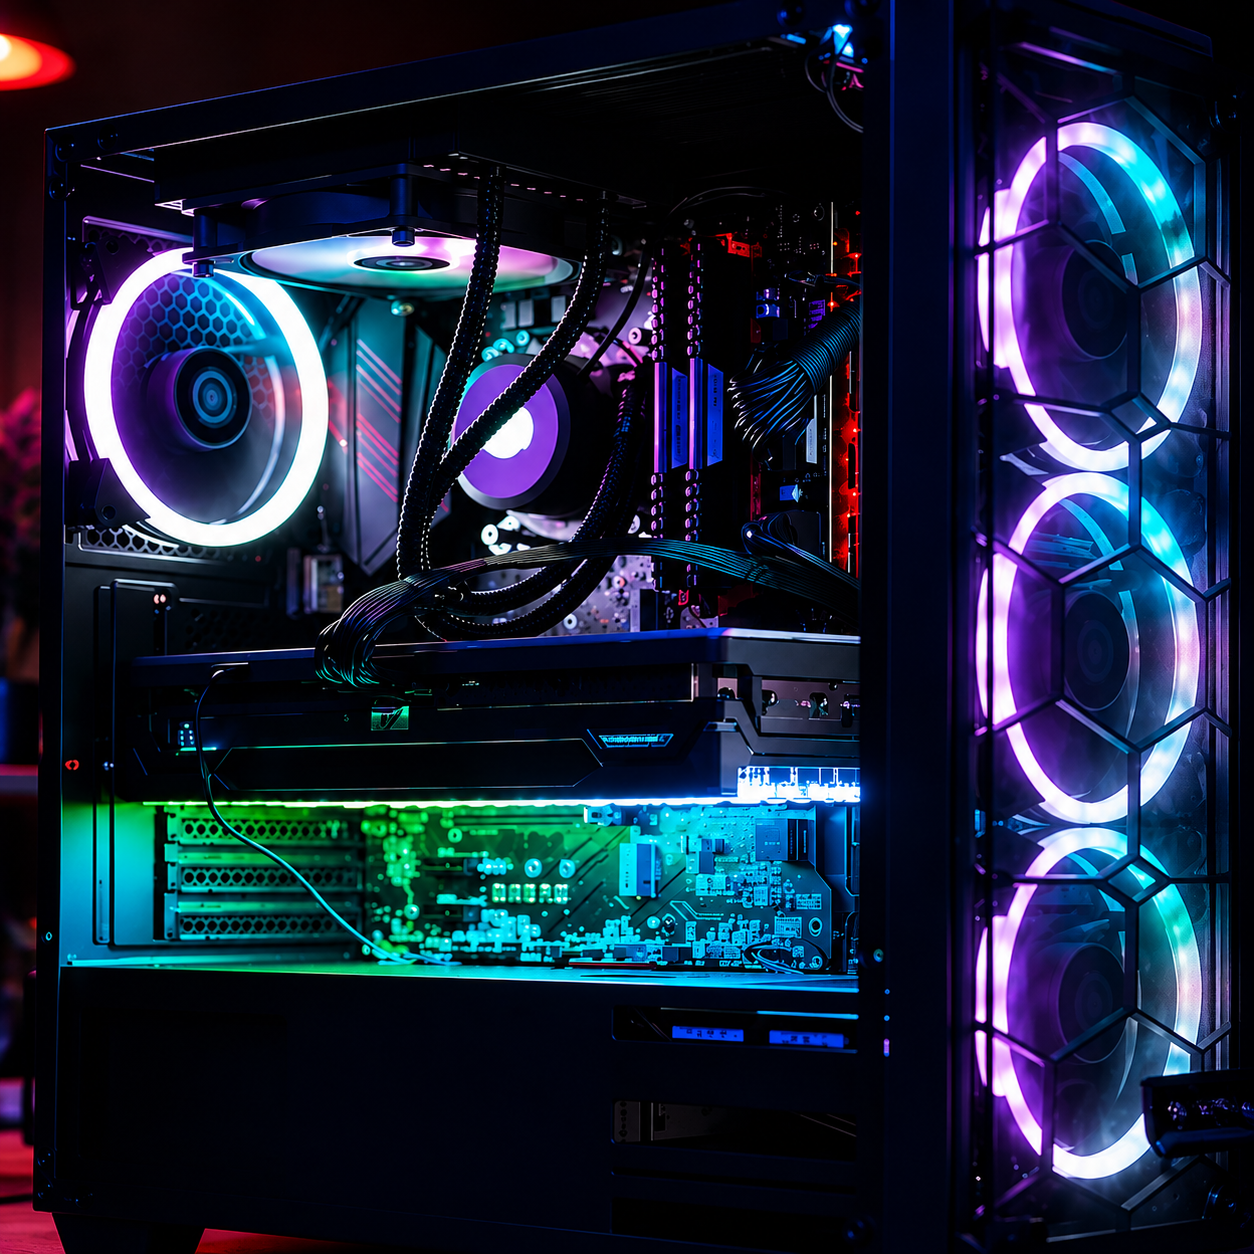
If your power source is solid and your peripherals are disconnected, but your system still refuses to post an image, the culprit may lie inside the chassis. If you feel comfortable opening your desktop case (or if you prefer our team to handle it with our convenient pick-up and return service), it’s time to check your internal hardware connections.
Dust accumulation, vibrations, or thermal expansion over time can cause components to shift ever so slightly out of their slots.
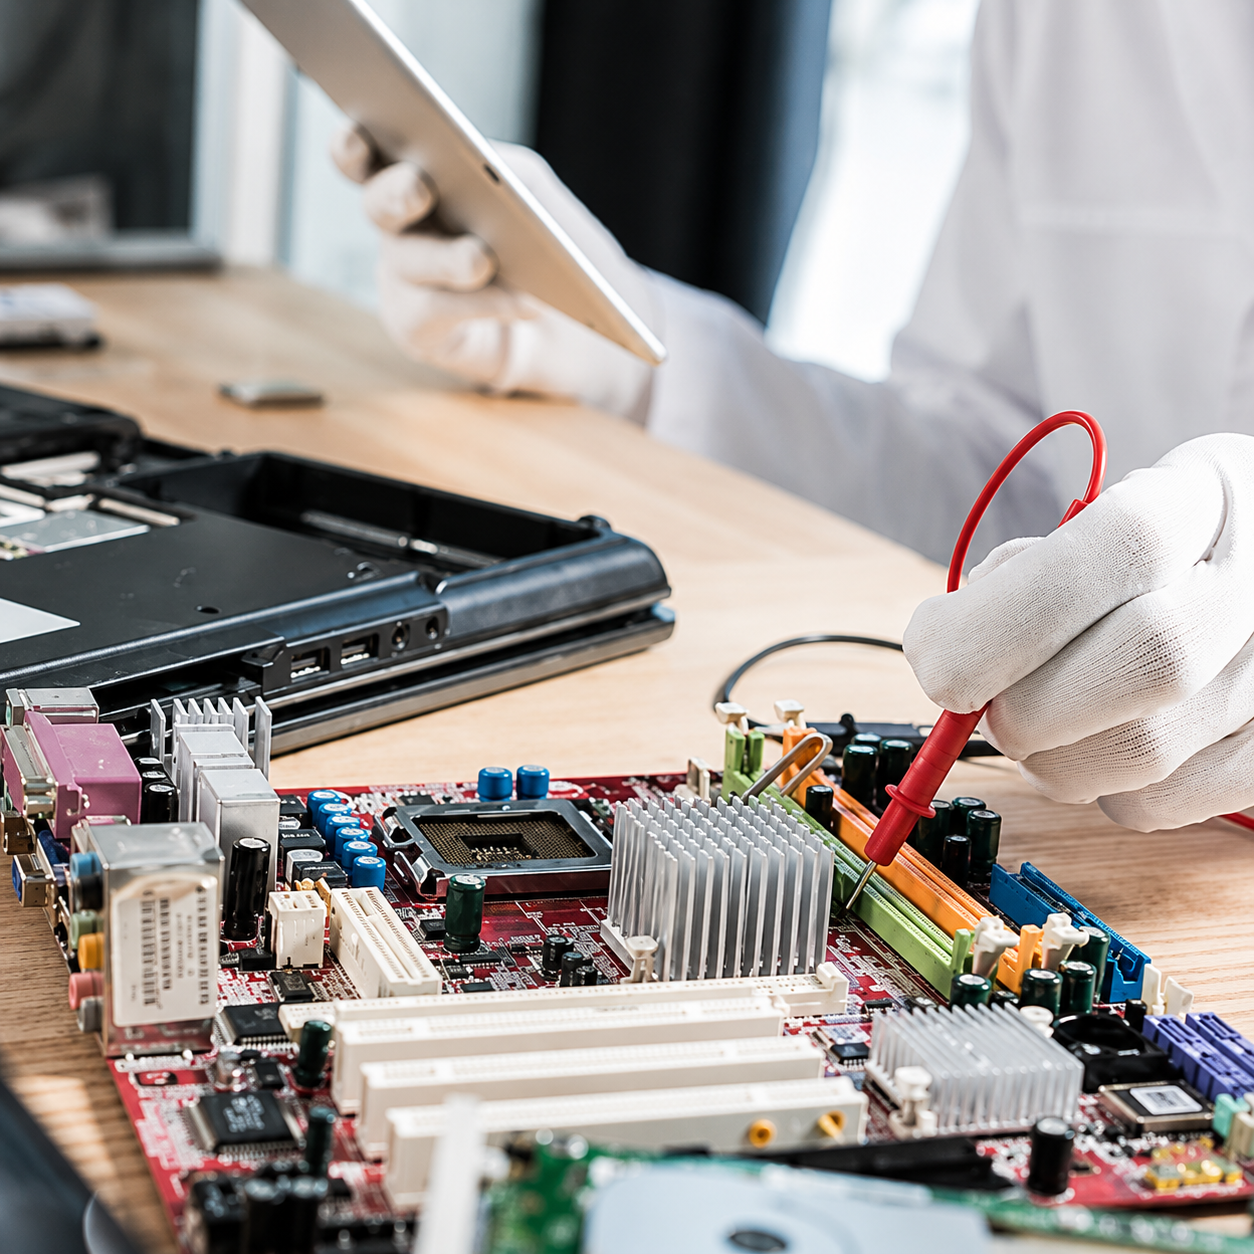
- Reseat Your Memory (RAM): Power down completely, unplug the PC, open the side panel, release the latches on your RAM sticks, pull them out gently, and snap them back into place until you hear a secure click.
- Check the Graphics Card: If you have a dedicated video card: like an ASUS TUF Gaming GeForce RTX 4090 or similar powerhouse: ensure it is firmly seated in its PCIe slot and that its dedicated power cables are securely plugged in.
- Clear the CMOS: If your BIOS settings have become hopelessly corrupted, removing the coinsized CR2032 CMOS battery from your motherboard for a minute before putting it back can reset your system hardware configuration to factory defaults.
4. Investigate Boot Order and Storage Drives
When your computer powers on and displays the manufacturer logo or BIOS screen, but fails to load Windows, your operating system or storage drive is likely not responding.
- Enter BIOS/UEFI Setup: As soon as you turn on the computer, repeatedly tap the Del, F2, or Esc key (depending on your motherboard manufacturer) to enter the system settings menu.
- Verify Drive Detection: Navigate to the storage or system information tab. Is your primary SSD or hard drive listed? If the drive is completely missing from the BIOS menu, your storage drive may have failed, or its SATA/M.2 connection has come loose
- Check Boot Priority: Ensure your main operating system drive is selected as the primary boot device, rather than a network adapter or a detached USB installer.
5. Utilize Windows Recovery Tools and Safe Mode
If Windows starts to load but crashes into a blue screen or an automatic repair loop, your operating system files may need repair.
- Enter the Windows Recovery Environment (WinRE): If Windows fails to boot normally three times in a row, it should automatically launch the Advanced Startup menu. Alternatively, you can interrupt the boot sequence three times by holding the power button during the loading logo.
- Run Startup Repair: Navigate to Troubleshoot > Advanced Options > Startup Repair to let Windows automatically diagnose and fix common boot-blocking errors.
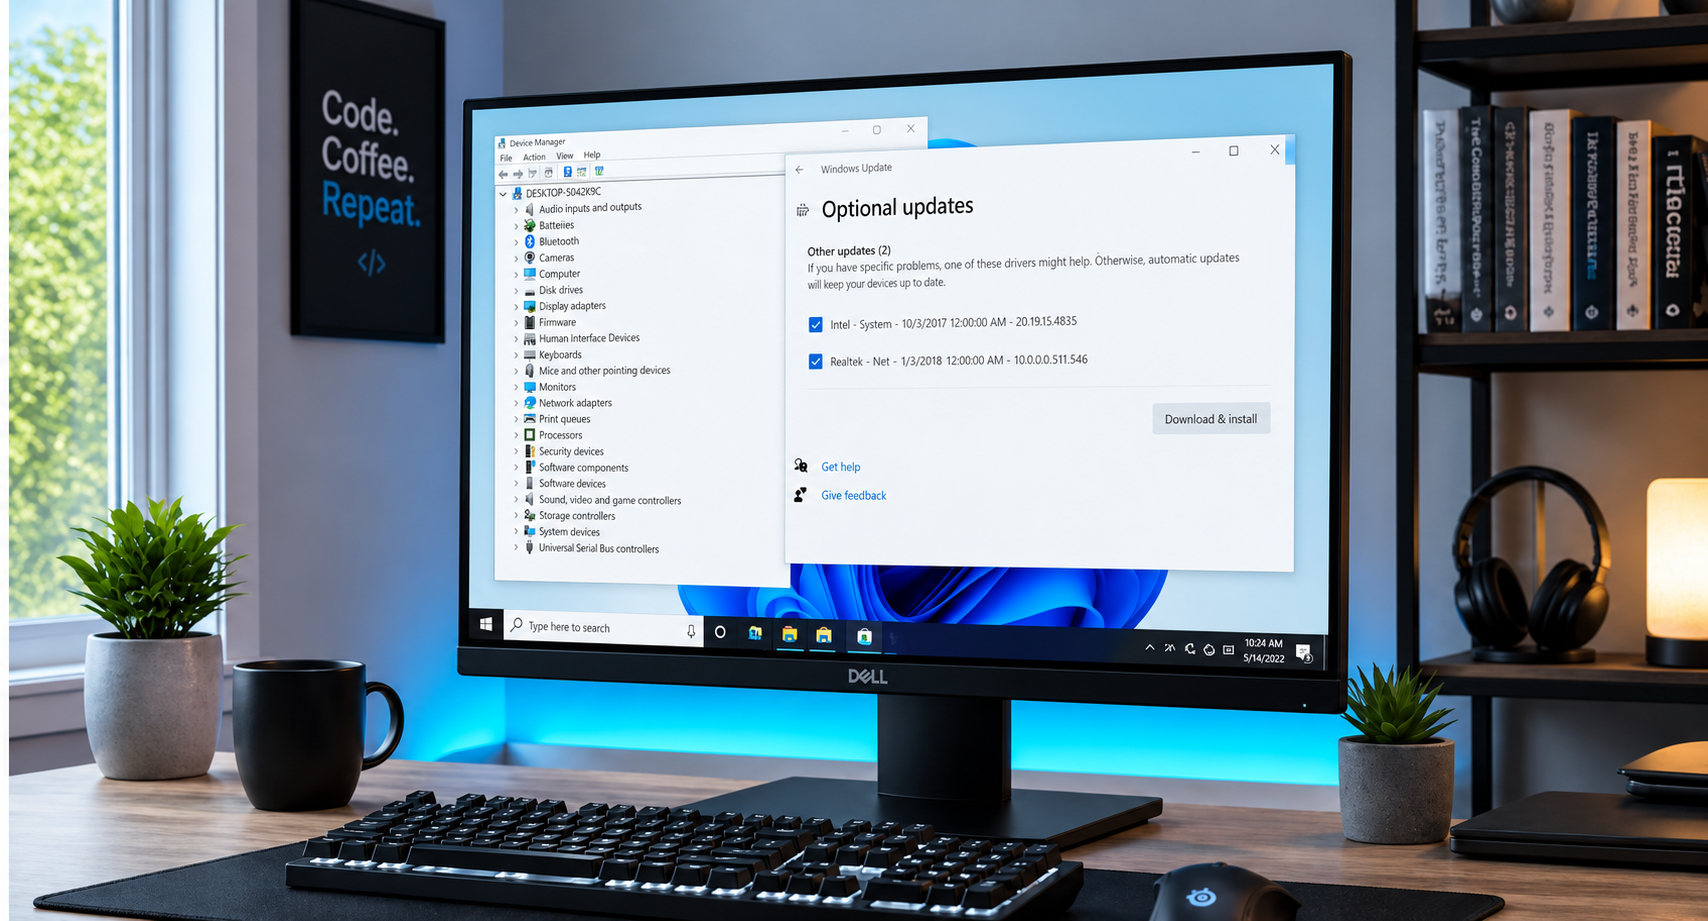
- Boot into Safe Mode: From the same advanced menu, head to Startup Settings and restart into Safe Mode. Once loaded with minimal drivers, you can uninstall recent problematic software updates, run malware scans, or backup critical personal files.
Explore Our Services: Let Us Take the Stress Off Your Shoulders
Troubleshooting hardware and software anomalies can be an exhausting endeavor. When you’ve tried every trick in the book and your computer still refuses to cooperate, remember that you don't have to navigate it alone.
At Home Net Computer Repair, we pride ourselves on transparent, honest pricing with zero hidden fees. Whether you need a custom-built gaming rig, a rapid laptop screen replacement, or expert guidance on whether it’s time for an upgrade, our dedicated family-owned team is here to help. We even come right to your door with our signature pick-up and return service, ensuring a truly hasslefree experience from start to finish.
Ready to get your digital life back on track with peak performance?
Get in touch with us today and experience tech support tailored specifically to your needs and budget!